React로 이메일 템플릿 쉽게 만들고 관리하기 (react-email)
서비스를 운영하다보면 이메일을 발송해야 하는 다양한 경우들이 종종 존재합니다.
개인 대 개인으로 이메일을 주고 받는 경우에는 단순히 이메일 서비스에서 제공하는 에디터를 통해 이메일을 작성하면 되지만, 서비스에서는 이미 만들어진 템플릿이 존재해야하죠.
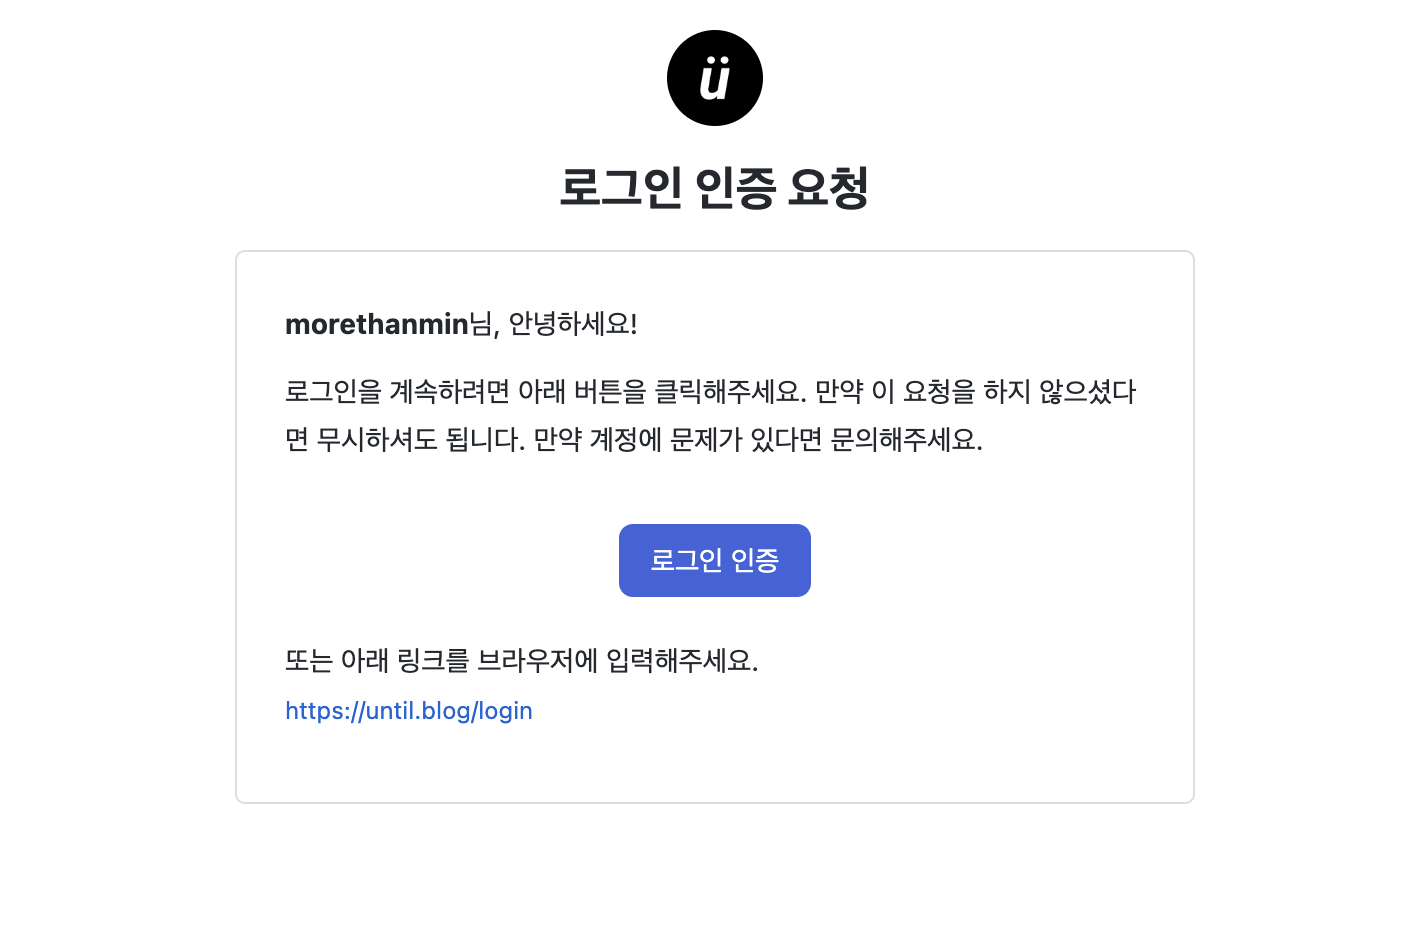
언틸에서 사용하고 있는 몇가지 사례를 소개해보자면.. 아래 사진처럼 이메일 로그인을 시도하거나,

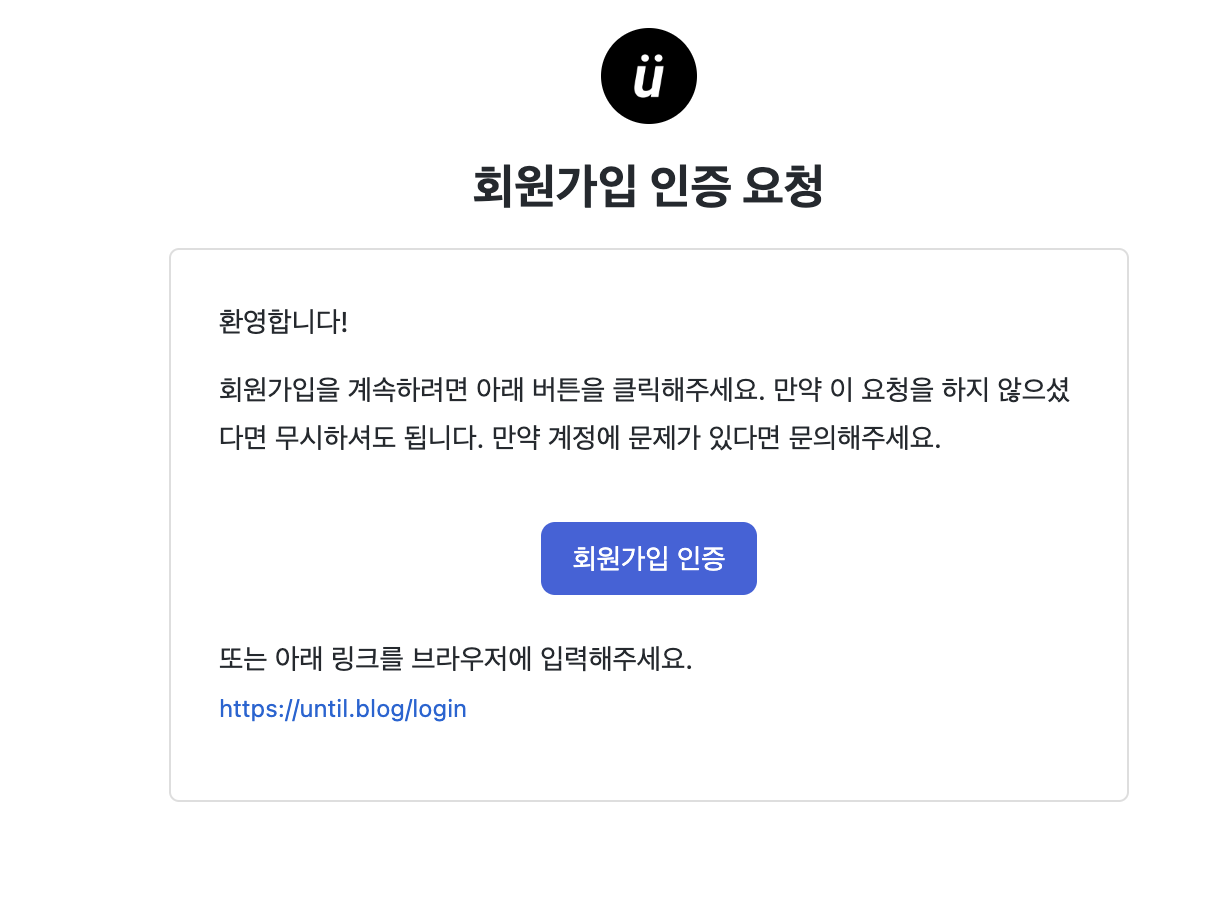
이메일 회원가입을 시도하는 경우에 이메일을 발송하게 됩니다.

이런 이메일 템플릿은 어떻게 만들어질까요?
이메일 템플릿을 만드는 방법
우선 이메일에서는 일반적으로 JavaScript를 포함하거나 실행할 수 없습니다. 이는 보안 및 사용자 경험 문제를 방지하기 위해 대부분의 이메일 클라이언트(Gmail, Outlook 등)에서 JavaScript 실행을 차단하기 때문입니다.
아래는 until에서 사용하는 회원가입 이메일 html 양식입니다.
<!DOCTYPE html PUBLIC "-//W3C//DTD XHTML 1.0 Transitional//EN" "http://www.w3.org/TR/xhtml1/DTD/xhtml1-transitional.dtd">
<html dir="ltr" lang="en">
<head>
<meta content="text/html; charset=UTF-8" http-equiv="Content-Type" />
</head>
<div style="display:none;overflow:hidden;line-height:1px;opacity:0;max-height:0;max-width:0">until 회원가입 인증 요청<div> </div>
</div>
<body style="background-color:#ffffff;color:#24292e;font-family:-apple-system,BlinkMacSystemFont,"Segoe UI",Helvetica,Arial,sans-serif,"Apple Color Emoji","Segoe UI Emoji"">
<table align="center" width="100%" border="0" cellPadding="0" cellSpacing="0" role="presentation" style="max-width:480px;margin:0 auto;padding:20px 0 48px">
<tbody>
<tr style="width:100%">
<td><img alt="Until" height="48" src="https://static.until.blog/logo.png" style="display:block;outline:none;border:none;text-decoration:none;border-radius:50%;margin:0 auto" width="48" />
<p style="font-size:24px;line-height:1.25;margin:16px 0;text-align:center;font-weight:bold">회원가입 인증 요청</p>
<table align="center" width="100%" border="0" cellPadding="0" cellSpacing="0" role="presentation" style="padding:24px;border:solid 1px #dedede;border-radius:5px;text-align:center">
<tbody>
<tr>
<td>
<p style="font-size:14px;line-height:24px;margin:0 0 10px 0;text-align:left">환영합니다!</p>
<p style="font-size:14px;line-height:24px;margin:0 0 10px 0;text-align:left">회원가입을 계속하려면 아래 버튼을 클릭해주세요. 만약 이 요청을 하지 않으셨다면 무시하셔도 됩니다. 만약 계정에 문제가 있다면 문의해주세요.</p><a href="https://until.blog/login" style="line-height:1.75;text-decoration:none;display:inline-block;max-width:100%;margin:20px 0;font-size:14px;background-color:color(display-p3 0.276 0.384 0.837);color:#fff;border-radius:0.5em;padding:6px 16px 6px 16px" target="_blank"><span><!--[if mso]><i style="letter-spacing: 16px;mso-font-width:-100%;mso-text-raise:9" hidden> </i><![endif]--></span><span style="max-width:100%;display:inline-block;line-height:120%;mso-padding-alt:0px;mso-text-raise:4.5px">회원가입 인증</span><span><!--[if mso]><i style="letter-spacing: 16px;mso-font-width:-100%" hidden> </i><![endif]--></span></a>
<p style="font-size:14px;line-height:24px;margin:0 0 10px 0;text-align:left">또는 아래 링크를 브라우저에 입력해주세요. <br /><a href="https://until.blog/login" style="color:#0366d6;text-decoration:none;font-size:12px" target="_blank">https://until.blog/login</a></p>
</td>
</tr>
</tbody>
</table>
</td>
</tr>
</tbody>
</table>
</body>
</html>이런 html 템플릿을 직접 만든다면 재사용성도 떨어지고, 크로스 브라우징 이슈가 발생할 수도 있는 등 다양한 문제를 야기하게 됩니다.
만약 이런 템플릿의 개수가 늘어날수록 관리하기는 점점더 힘들어지겠죠.
그 외에도 모던 웹 개발환경을 사용하지 못함으로써 생기는 모든 단점들이 발생할것입니다.
React 환경에서 이메일 템플릿을 만들 수 있도록 해주는, React-Email
이런 문제를 해결하기 위해 만들어진 서비스가 React-Email입니다.
React-email에서 제공하는 컴포넌트를 통해 이메일 템플릿을 만들면, 알아서 email에서 사용할 수 있는 html로 변환해주고 손쉽게 관리할 수 있도록 도와줍니다.
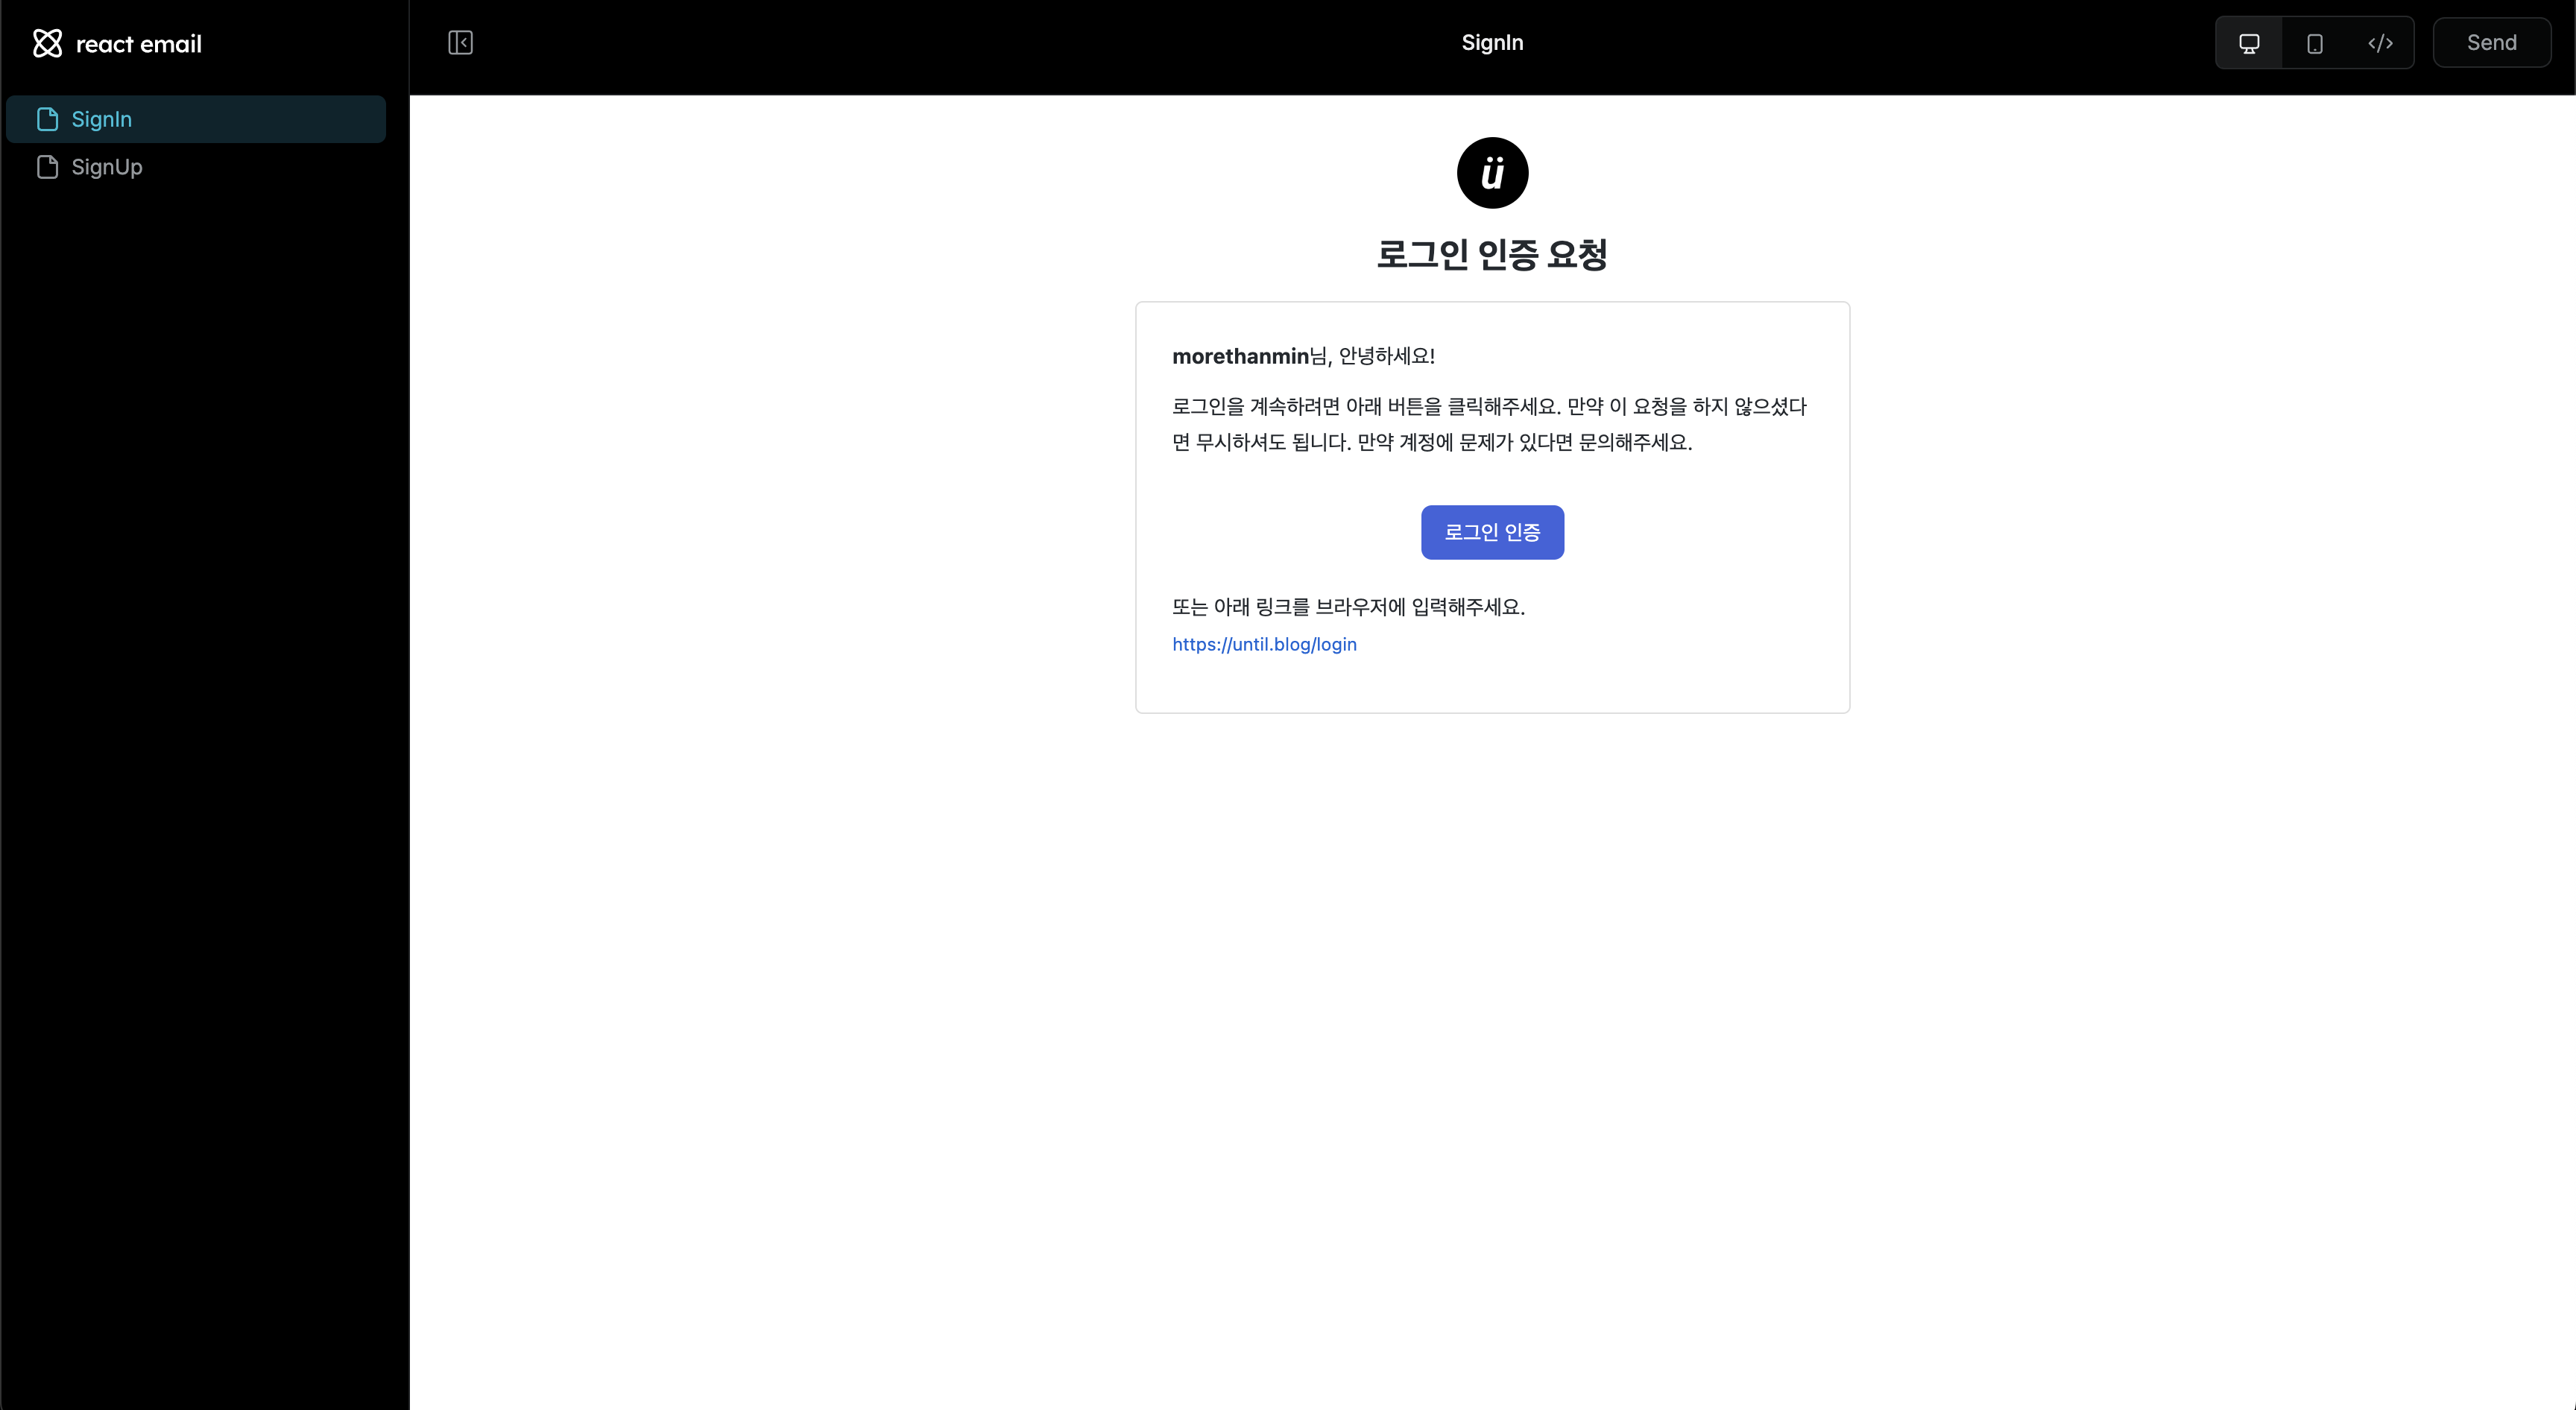
언틸에서도 아래와 같이 React-Email을 사용해 템플릿을 관리하고 있습니다.

이 아티클에서는 React-Email을 사용하는 방법을 간략히 설명하겠습니다. 구체적인 가이드는 공식 문서를 참고해보시면 좋겠습니다.
사용법
아래 커맨드를 터미널에 입력하여 React-Email 프로젝트를 init할 수 있습니다.
npx create-email@latest프로젝트를 열고 emails 폴더 안에 컴포넌트 정의하듯이 만들고자 하는 이메일 템플릿을 만들면 됩니다.
아래는 react-email을 통해 만든 until 회원가입 템플릿입니다.
import {
  Body,
  Button,
  Container,
  Head,
  Html,
  Img,
  Link,
  Preview,
  Section,
  Text,
} from '@react-email/components'
import * as React from 'react'

type SignUpProps = {
  url?: string
}

const logoUrl = 'https://static.until.blog/logo.png'

export const SignUp = ({ url }: SignUpProps) => (
  <Html>
    <Head />
    <Preview>until 회원가입 인증 요청</Preview>
    <Body style={main}>
      <Container style={container}>
        <Img
          src={logoUrl}
          width="48"
          height="48"
          style={{ borderRadius: '50%', margin: '0 auto' }}
          alt="Until"
        />

        <Text
          style={{
            fontSize: '24px',
            lineHeight: 1.25,
            textAlign: 'center',
            fontWeight: 'bold',
          }}
        >
          회원가입 인증 요청
        </Text>
        <Section style={section}>
          <Text style={text}>환영합니다!</Text>
          <Text style={text}>
            회원가입을 계속하려면 아래 버튼을 클릭해주세요. 만약 이 요청을 하지
            않으셨다면 무시하셔도 됩니다. 만약 계정에 문제가 있다면
            문의해주세요.
          </Text>
          <Button style={button} href={url}>
            회원가입 인증
          </Button>
          <Text style={text}>
            또는 아래 링크를 브라우저에 입력해주세요. <br />
            <Link style={link} href={url}>
              {url}
            </Link>
          </Text>
        </Section>
      </Container>
    </Body>
  </Html>
)

SignUp.PreviewProps = {
  url: 'https://until.blog/login',
} as SignUpProps

export default SignUp

const main = {
  backgroundColor: '#ffffff',
  color: '#24292e',
  fontFamily:
    '-apple-system,BlinkMacSystemFont,"Segoe UI",Helvetica,Arial,sans-serif,"Apple Color Emoji","Segoe UI Emoji"',
}

const container = {
  maxWidth: '480px',
  margin: '0 auto',
  padding: '20px 0 48px',
}

const section = {
  padding: '24px',
  border: 'solid 1px #dedede',
  borderRadius: '5px',
  textAlign: 'center' as const,
}

const text = {
  margin: '0 0 10px 0',
  textAlign: 'left' as const,
}

const button = {
  margin: '20px 0',
  fontSize: '14px',
  backgroundColor: 'color(display-p3 0.276 0.384 0.837)',
  color: '#fff',
  lineHeight: 1.75,
  borderRadius: '0.5em',
  padding: '6px 16px',
}

const link = {
  color: '#0366d6',
  fontSize: '12px',
}
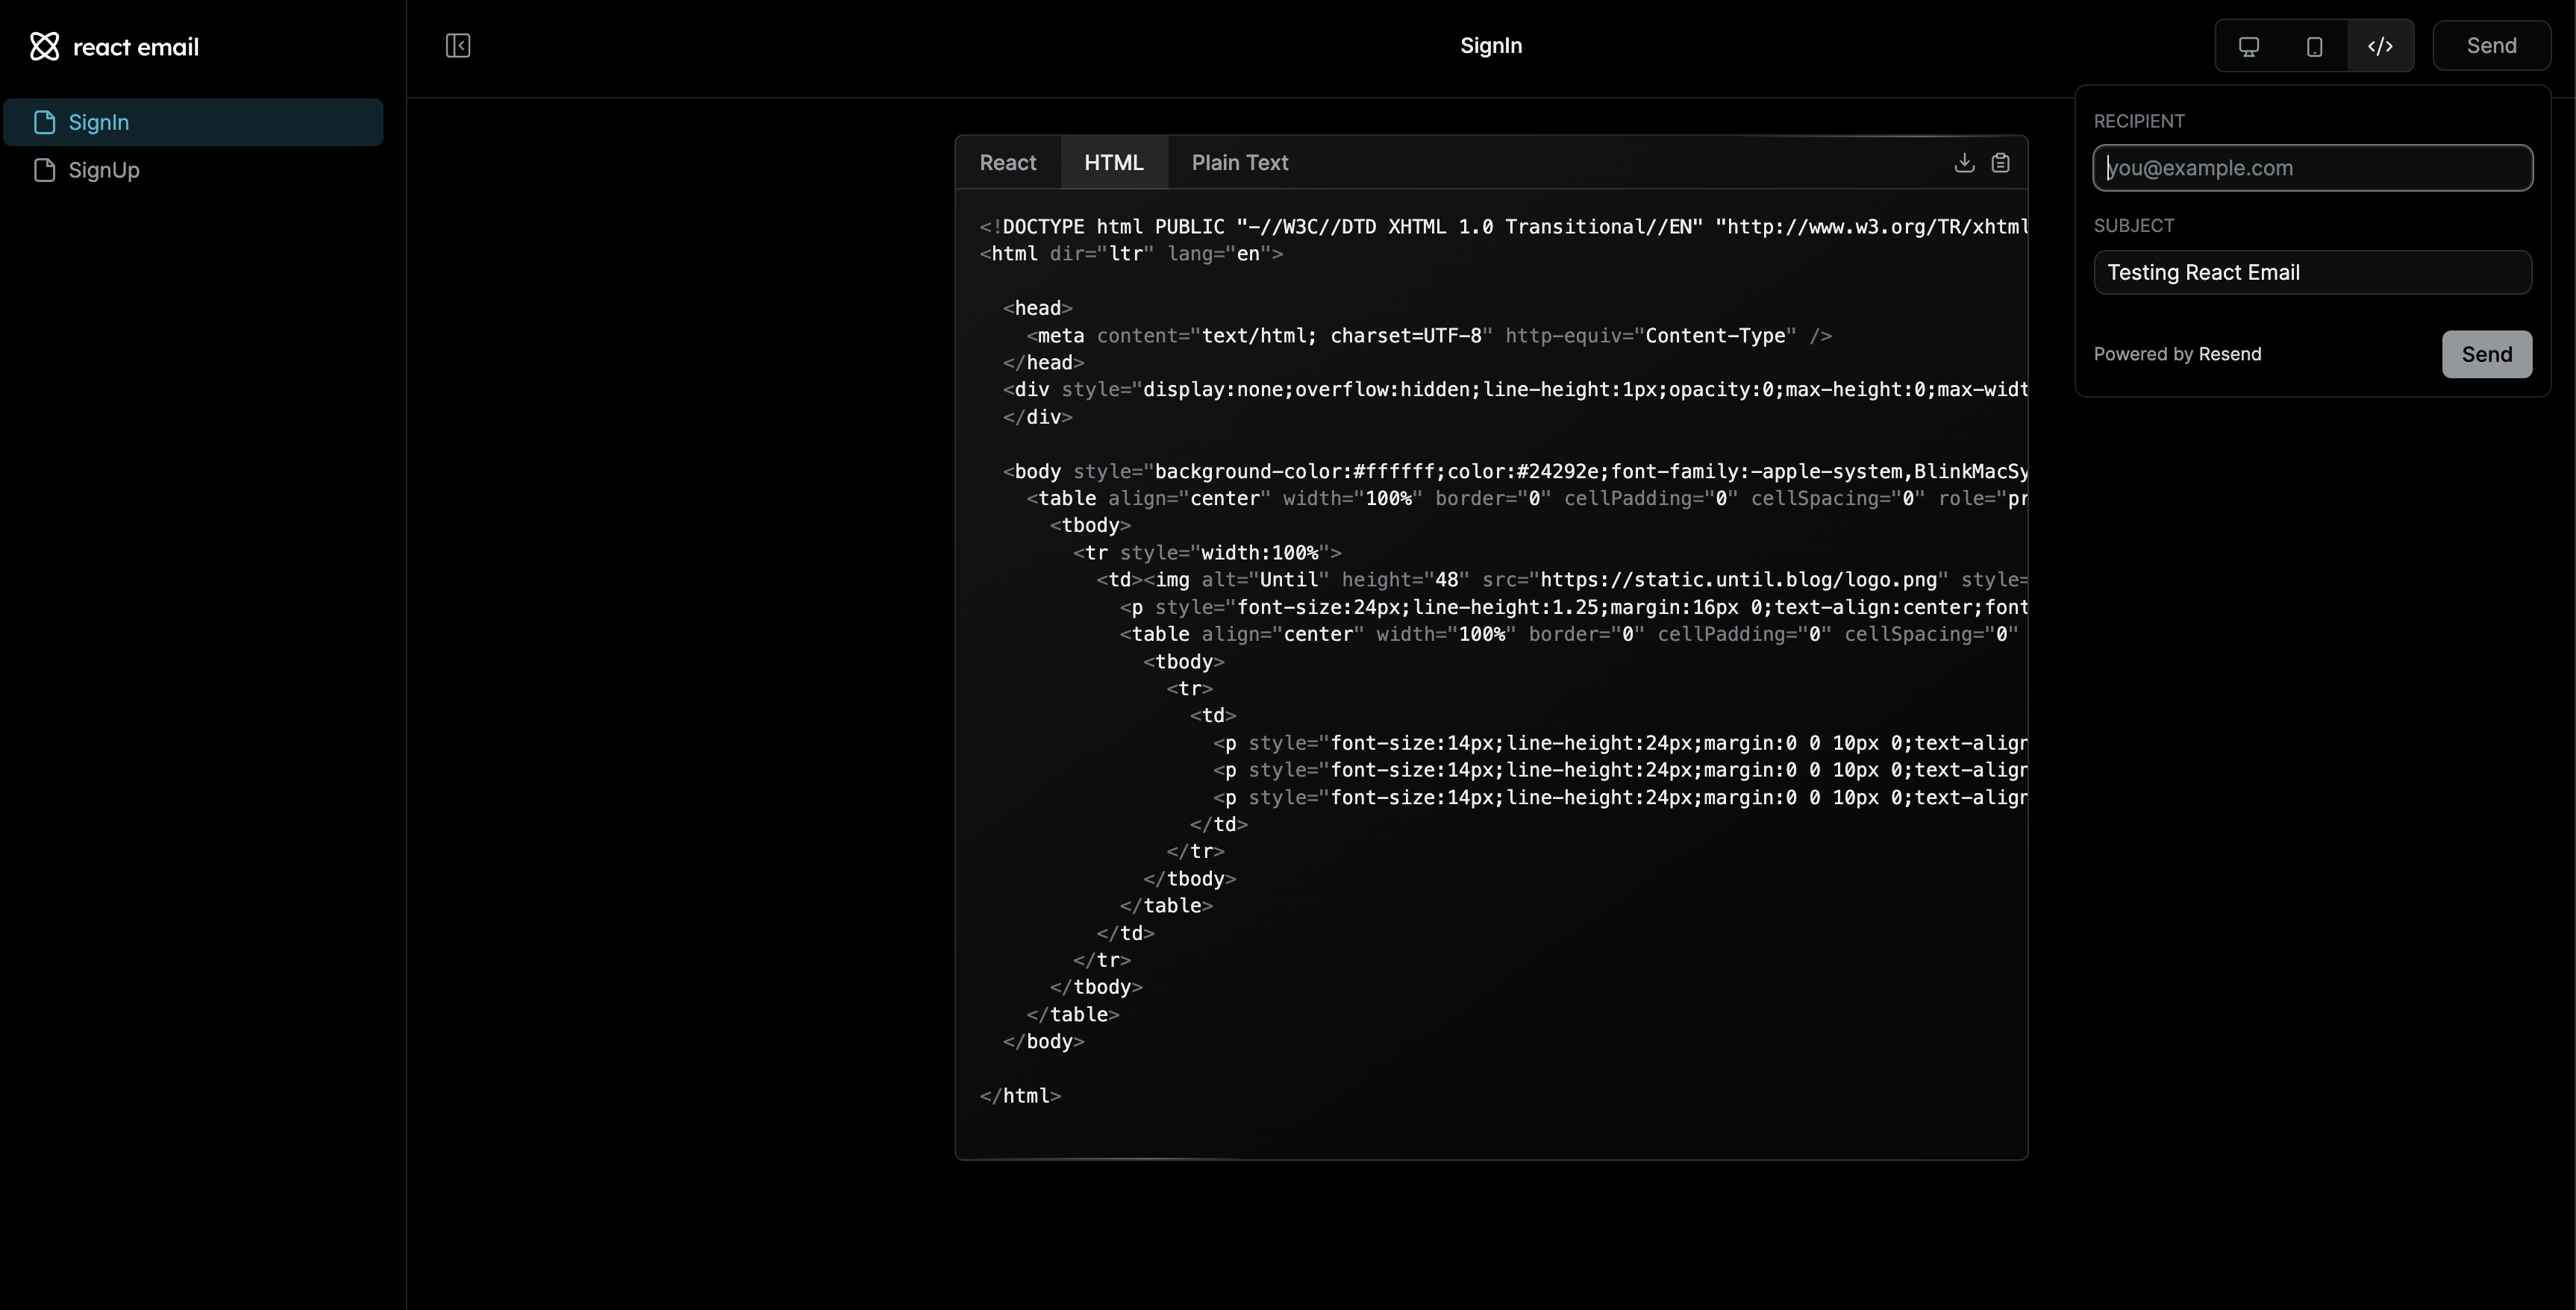
이렇게 만들어진 이메일 템플릿을 개발서버에서 바로 전송해 테스트해볼 수도 있고, html 로 변환된 코드도 확인할 수 있습니다.

결론
이메일 템플릿을 모던 웹 환경에서 체계적으로 관리해야한다면, React-email을 고려해보자
ref
