Mac M3에 Ubuntu 설치하기
Homebrew를 이용한 설치
brew install --cask multipass
공식 홈페이지를 이용한 설치
해당 공식 홈페이지를 참고해 설치합니다.
가상 인스턴스 생성하기
> multipass find
Image                       Aliases           Version          Description
20.04                       focal             20250429         Ubuntu 20.04 LTS
22.04                       jammy             20250429         Ubuntu 22.04 LTS
24.04                       noble,lts         20250502.1       Ubuntu 24.04 LTS
24.10                       oracular          20250502         Ubuntu 24.10

Blueprint                   Aliases           Version          Description
anbox-cloud-appliance                         latest           Anbox Cloud Appliance
charm-dev                                     latest           A development and testing environment for charmers
docker                                        0.4              A Docker environment with Portainer and related tools
jellyfin                                      latest           Jellyfin is a Free Software Media System that puts you in control of managing and streaming your media.
minikube                                      latest           minikube is local Kubernetes
ros2-humble                                   0.1              A development and testing environment for ROS 2 Humble.
ros2-jazzy                                    0.1              A development and testing environment for ROS 2 Jazzy.
multipass find 명령은 현재 multipass를 통해 생성할 수 있는 인스턴스의 모든 이미지 목록이 표시됩니다.
> multipass launch --name ubuntu22 22.04
>  multipass list
Name                    State             IPv4             Image
ubuntu22                Running           192.168.64.6     Ubuntu 22.04 LTS
multipass launch 명령을 통해서 가상 인스턴스를 생성할 수 있습니다.
Trouble Shooting
인스턴스 생성 후 multipass shell로 접속을 시도했으나 에러가 발생했습니다. 인스턴스를 중지한 뒤 CPU 코어를 4개, 디스크 용량을 40GB, 메모리를 8GB로 변경하고 다시 시작하자 정상적으로 shell 접속이 가능해졌습니다. Multipass는 로컬 호스트(PC) 위에서 가상화를 통해 Ubuntu 리눅스 VM을 생성하고 구동하기 때문에 로컬 호스트의 리소스를 할당해 Ubuntu VM을 구동합니다. 초기 설정의 스펙이 너무 낮으면, Hypervisor가 리소스를 할당은 하지만 게스트 OS가 정상적으로 부팅을 완료하지 못할 수 있습니다.
> multipass shell ubuntu22
shell failed: ssh connection failed: 'Failed to connect: No route to host'
> multipass stop ubuntu22
주의 사항
인스턴스의 디스크 크기를 늘려도 파티션이 자동으로 확장되지 않아 추가된 공간을 사용하지 못하는 경우가 있습니다. 이는 주로 파티션이 이미 꽉 찬 상태에서 디스크 용량을 늘릴 때 발생합니다. 이런 경우 sudo parted /dev/sda resizepart 1 100% 명령어로 첫 번째 파티션의 끝을 디스크 끝까지 확장한 뒤, sudo resize2fs /dev/sda1 명령어로 파일 시스템도 확장해야 추가된 공간을 사용할 수 있습니다. 현재는 이미 자동으로 확장되어 Nothing to do! 메시지가 출력됩니다.
ubuntu@ubuntu-ml:~$ sudo parted /dev/sda resizepart 1 100%
Warning: Partition /dev/sda1 is being used. Are you sure you want to continue?
Yes/No? yes
Information: You may need to update /etc/fstab.

ubuntu@ubuntu-ml:~$ sudo resize2fs /dev/sda1
resize2fs 1.46.5 (30-Dec-2021)
The filesystem is already 10459899 (4k) blocks long.  Nothing to do!
가상 인스턴스 Resource 확인하기
> multipass get local.ubuntu22.cpus
4
> multipass get local.ubuntu22.disk
40.0GiB
> multipass get local.ubuntu22.memory
8.0GiB
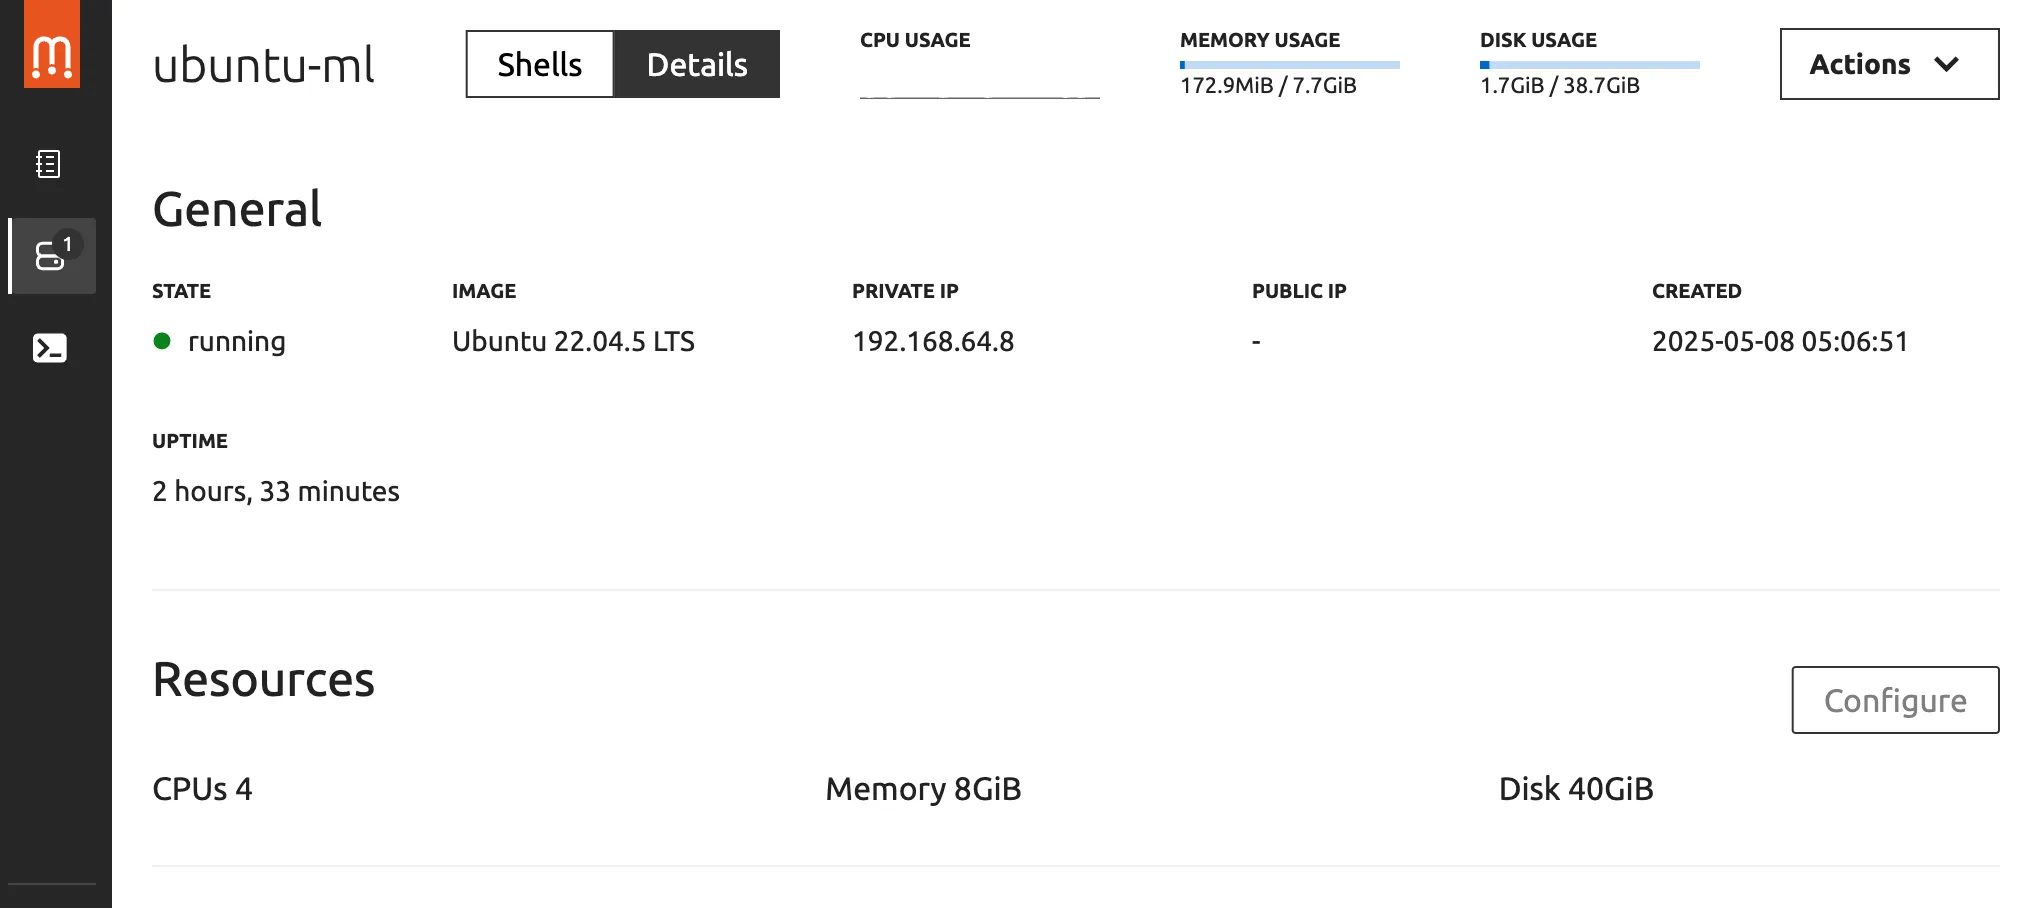
터미널에서 확인할 수도 있고, UI에서 확인할 수도 있습니다.
가상 인스턴스 Shell에 접속하기
> multipass shell ubuntu22
SSH로 가상 인스턴스에 접속하기
SSH(Secure Shell)는 네트워크를 통해 다른 컴퓨터에 안전하게 접속하고, 원격으로 명령어를 실행할 수 있게 해주는 암호화된 통신 프로토콜입니다. 로컬 VS Code에서 Ubuntu 인스턴스에 접속하려면 SSH 설정이 필요합니다.
SSH Key 생성
> ssh-keygen -t rsa -b 2048 -f ~/.ssh/id_rsa_multipass
위 명령을 수행하면 ~./ssh 경로에 id_rsa_multipass(개인키) 와 id_rsa_multipass(공개키) 파일이 생성됩니다.
cloud-init 옵션에 적용할 yaml 파일 작성
> cat ~/.ssh/id_rsa_multipass.pub
ssh-rsa [key]
> vi cloud-init.yaml
----------------cloud-init.yaml file---------------
users:
  - default
  - name: ubuntu
    sudo : ALL=(ALL) NOPASSWD:ALL
    ssh_authorized_keys:
      - ssh-rsa [key]
ssh_authorized_keys 설정 항목에 id_rsa_multipass.pub 파일의 내용을 그대로 복사하여 설정하면 인스턴스 생성 시 지정된 공개키가 인스턴스에 적용됩니다. 인스턴스의 ~./ssh/authorized_keys 파일에 공개키가 저장됩니다.
cloud-init 옵션을 사용하여 가상 인스턴스 생성
> multipass launch --name ubuntu-ml 22.04 --cpus 4 --memory 8G --disk 40G --c
loud-init cloud-init.yaml
cloud-init 옵션은 클라우드 환경에서 인스턴스를 처음 부팅할 때 초기 설정을 실행해주는 옵션입니다.
SSH 접속
> multipass ls
Name                    State             IPv4             Image
ubuntu-ml               Running           {IP Address}     Ubuntu 22.04 LT

> ssh -i $HOME/.ssh/id_rsa_multipass ubuntu@192.168.64.8
The authenticity of host '...' can't be established.
...
This key is not known by any other names.
...
매번 -i 옵션으로 개인 키 경로를 지정하는 것이 번거롭다면, ~/.ssh/config 파일에 아래와 같이 설정하여 간편하게 사용할 수 있습니다.
> cd ~/.ssh
> vi config
-------------config file---------------
Host multipass-ubuntu22
   HostName 192.168.64.8
   User ubuntu
   IdentityFile ~/.ssh/id_rsa_multipass
위와 같이 설정한 경우, 아래와 같이 간편하게 ssh에 접속할 수 있습니다.
> ssh multipass-ubuntu22
Python 개발환경 구축하기
MiniConda 설치
손쉽게 파이썬 패키지, 가상환경 등을 관리하기 위해 미니콘다를 설치합니다.
ubuntu@ubuntu-ml:~$ wget <https://repo.anaconda.com/miniconda/Miniconda3-latest-Linux-aarch64.sh>
ubuntu@ubuntu-ml:~$ bash Miniconda3-latest-Linux-aarch64.sh
unname -m 명령어로 내 Ubuntu 인스턴스의 아키텍처를 확인합니다. 필자는 Apple M3를 사용하므로 aarch64 기반, 즉 ARM 64비트 CPU 환경입니다.
ubuntu@ubuntu-ml:~$ source ~/.bashrc
(base) ubuntu@ubuntu-ml:~$
설치가 끝난 후, source ~/.bashrc 를 입력하면 다음과 같이 base라는 가상환경이 기본적으로 사용됩니다.
ubuntu@ubuntu-ml:~$ which python
/home/ubuntu/miniconda3/envs/test_env/bin/python
which python 을 입력하면 다음과 같이 miniconda3 경로에 있는 파이썬을 사용하는 것을 알 수 있습니다.